Prosthetics - The final image/assessment!
The time has finally come to create the final image. To begin, it is important to prepare the model. This includes giving them a cape to wear to protect their clothing, tying up their hair so it isn't in the way or in preparation for a wig and ensuring they aren't currently wearing any makeup. The skin should be cleansed with a mild skin cleanser to make sure there isn't any build up of oils on the skin as this could affect the makeup or adhesion of the prosthetics once they have been applied.
Once this step has been completed, the makeup can begin. The first thing to be applied were the eye prosthetics. This was done first as the mouth piece would make it impossible to talk and eat once applied, which would become quite uncomfortable, so this was left until the end for the model's comfort. Each eye piece was held up to the face to ensure the correct placement, with a light eyeshadow being used to trace around the edge. The eyebrows had also been glued down with an Elmer's washable glue stick. The pieces were then applied to the skin using pros-aide.
 |
| Figure 1 - ProsAide that was used for this application (Redcarpetfx, no date) |
Pros-aide was used as "this glue is a preparation with exceptionally great adhesion, and is used for adhering foam appliances and other 3-dimensional parts" (Kryolan, no date). This product is also fairly easy to remove with the use of products such as Bond Off or ProClean. These are "gentle, oily removers, perfect for use with adhesive, prosthetics and appliances as well as make-up products." (Tiltmakeup, no date). This adhesive starts out as white and dries clear, making it the perfect choice for this application.
 |
| Figure 2 - Bond Off that was used for this application (Treasurehouseofmakeup, no date) |
Another adhesive option would be spirit gum. "Spirit gum is a classical adhesive for hair, beards and wigs" (Kyrolan, no date). This can also be used for prosthetics, however in previous uses of this product, it has been quite difficult to remove as it is a very strong adhesive. It does also have a yellow/orange colour to it which would show through the encapsulator/cutting edge of the prosthetic, therefore this product was not used. Although this would be a great option if the cutting edge would be fully covered and the piece would be worn for a long time, as sweat and/or moisture wouldn't break down the product as easily as it would with pros-aide.
 |
| Figure 3 - Spirit Gum (Redcarpetfx, no date) |
The pros-aide was applied to the back of the piece itself first, and to the skin as well where it would sit. The product was allowed to begin to set (start turning clear) before the piece was applied, as this is when the product is at its most adherent. As the piece was very close to the eyes, a cotton pad was placed over the eye before the prosthetic application.
 |
| Figure 4 - Eye prosthetics being applied with cotton pad (Brown, J. 2021) |
This was done to minimise any accidental damage or injury to the model's eyes. This was a very important health and safety precaution to take as the encapsulator used was acetone based, meaning acetone would be necessary to blend the edges. The acetone safety data sheet (see here) states that acetone does create a vapour and can cause serious eye irritation. The hazard class of this is 'Eye Irritation, Category 2', with category 1 being the most severe. (See here for the SCHC (Society for Chemical Hazard Communication) chemical category classification criteria). If this chemical were to enter the eyes, the model would need to flood the eye(s) with plenty of water for at least 15 minutes and seek medical attention. The cotton pad serves the purpose of keeping the eye closed to protect from irritating vapours, and also to catch any acetone that could potentially drip from the cotton bud. Special care was however taken to ensure the cotton buds were not soaked to a point where they could drip.
After the piece had adhered, pros-aide was applied to the cutting edge and the skin, and given time to dry before securing the piece. This was done in small sections, making sure the cap plastic had been tightly stretched to avoid wrinkles. Acetone was then used to blend away the edges.
 |
| Figure 5 - The applied prosthetic after blending (Brown, J. 2021) |
The next step was to apply the latex ears. As these had been sculpted to fit the model, they were very easy to apply. They were first applied without adhesive, to check how they would sit on the ear. Pros-aide was then used to secure them.
 |
| Figure 6 - The applied latex ears after colouring (Brown, J. 2021) |
The mouth piece was applied next. This was also secured in sections, working from the middle of the piece outwards, securing the cutting edge and blending with acetone. As this was directly underneath the nose, special care was again taken. Very small amounts of acetone being used, and blending a very small amount before allowing the model frequent breaks to escape the vapour. A small hole had been made within the prosthetic before application for the purpose of preventing moisture build up, and so that the model could have a drink using a straw if needed.
 |
| Figure 7 - Test of hiding the hole that has been created (not final piece) (Brown, J. 2021) |
 |
| Figure 8 - Test showing where the hole is (not final piece) (Brown, J. 2021) |
 |
| Figure 9 - Test showing the back of the prosthetic (not final piece) (Brown, J. 2021) |

 |
| Figure 11 - Final eye prosthetic that was used (Brown, J. 2021) |
 |
| Figure 12 - Set of ears created that were used (Brown, J. 2021) |
 |
| Figure 13 - Final mouth prosthetic that was used (Brown, J. 2021) |
The base makeup was applied first. This was applied using an airbrush and airbrush foundation. The artist preferred the way this sat on the skin compared to regular foundations. Reflecting on this, a full coverage liquid foundation may have worked better as the airbrush applies thin layers, and this wasn't enough to completely cover the brows, even after colour correcting. This needed to be a thick layer, which would have blended better with a full coverage foundation.
Eyeshadow was the next step. A black kohl liner was used to create a base, with black eyeshadow being applied on top. This was then blended out with an orange shadow. This was replicated underneath the eyes as well. The kohl liner was used to darken the waterline before mascara was applied. This makeup could have been more detailed had it have been done before the prosthetic was applied. The corners of the eyes were slightly harder to get to. After the prosthetic had been mapped out, the eye makeup could have been applied as normal, with any being removed if it got in the way of where the prosthetic would sit.
The prosthetics were detailed last. A mixture of creme paints and alcohol paints were used for this. This didn't turn out as well as the student had hoped. It wasn't quite what they had pictured. The application itself was perfectly fine, using brushes and stipple sponges, and building up the colour. A lot more planning could have been done in preparation to really make sure there was a solid idea of what the makeup would be. This is something they are going to keep in mind, and ensuring that they complete different trials and tests for future projects.
 |
| Figure 14 - Final image showing the makeup (Brown, J. 2021) |
The wig and outfit were the final touches to this look. A green wig had been chosen as it was supposed to represent pumpkin vines.
 |
| Figure 15 - 'Evie - Wicked Green' wig from Webster Wigs that was used (Brown, J. 2021) |
The inspiration for the style came from the Instagram account @zorinblitzz (see here, their name is not public). The braiding designs seemed to add to the vine-like effect that was to be achieved. These images were particularly inspiring;
 |
| Figure 16 - Inspiration image (Zorinblitzz, 2021) |
 |
| Figure 17 - Inspiration image (Zorinblitzz, 2021) |
The texture of the wig was already perfect for the look, so the student just styled the hair. Faux vines and leaves were added to add that extra hint of detail.
 |
| Figure 18 - Final wig design (Brown, J. 2021) |
 |
| Figure 19 - Final wig design (Brown, J. 2021) |
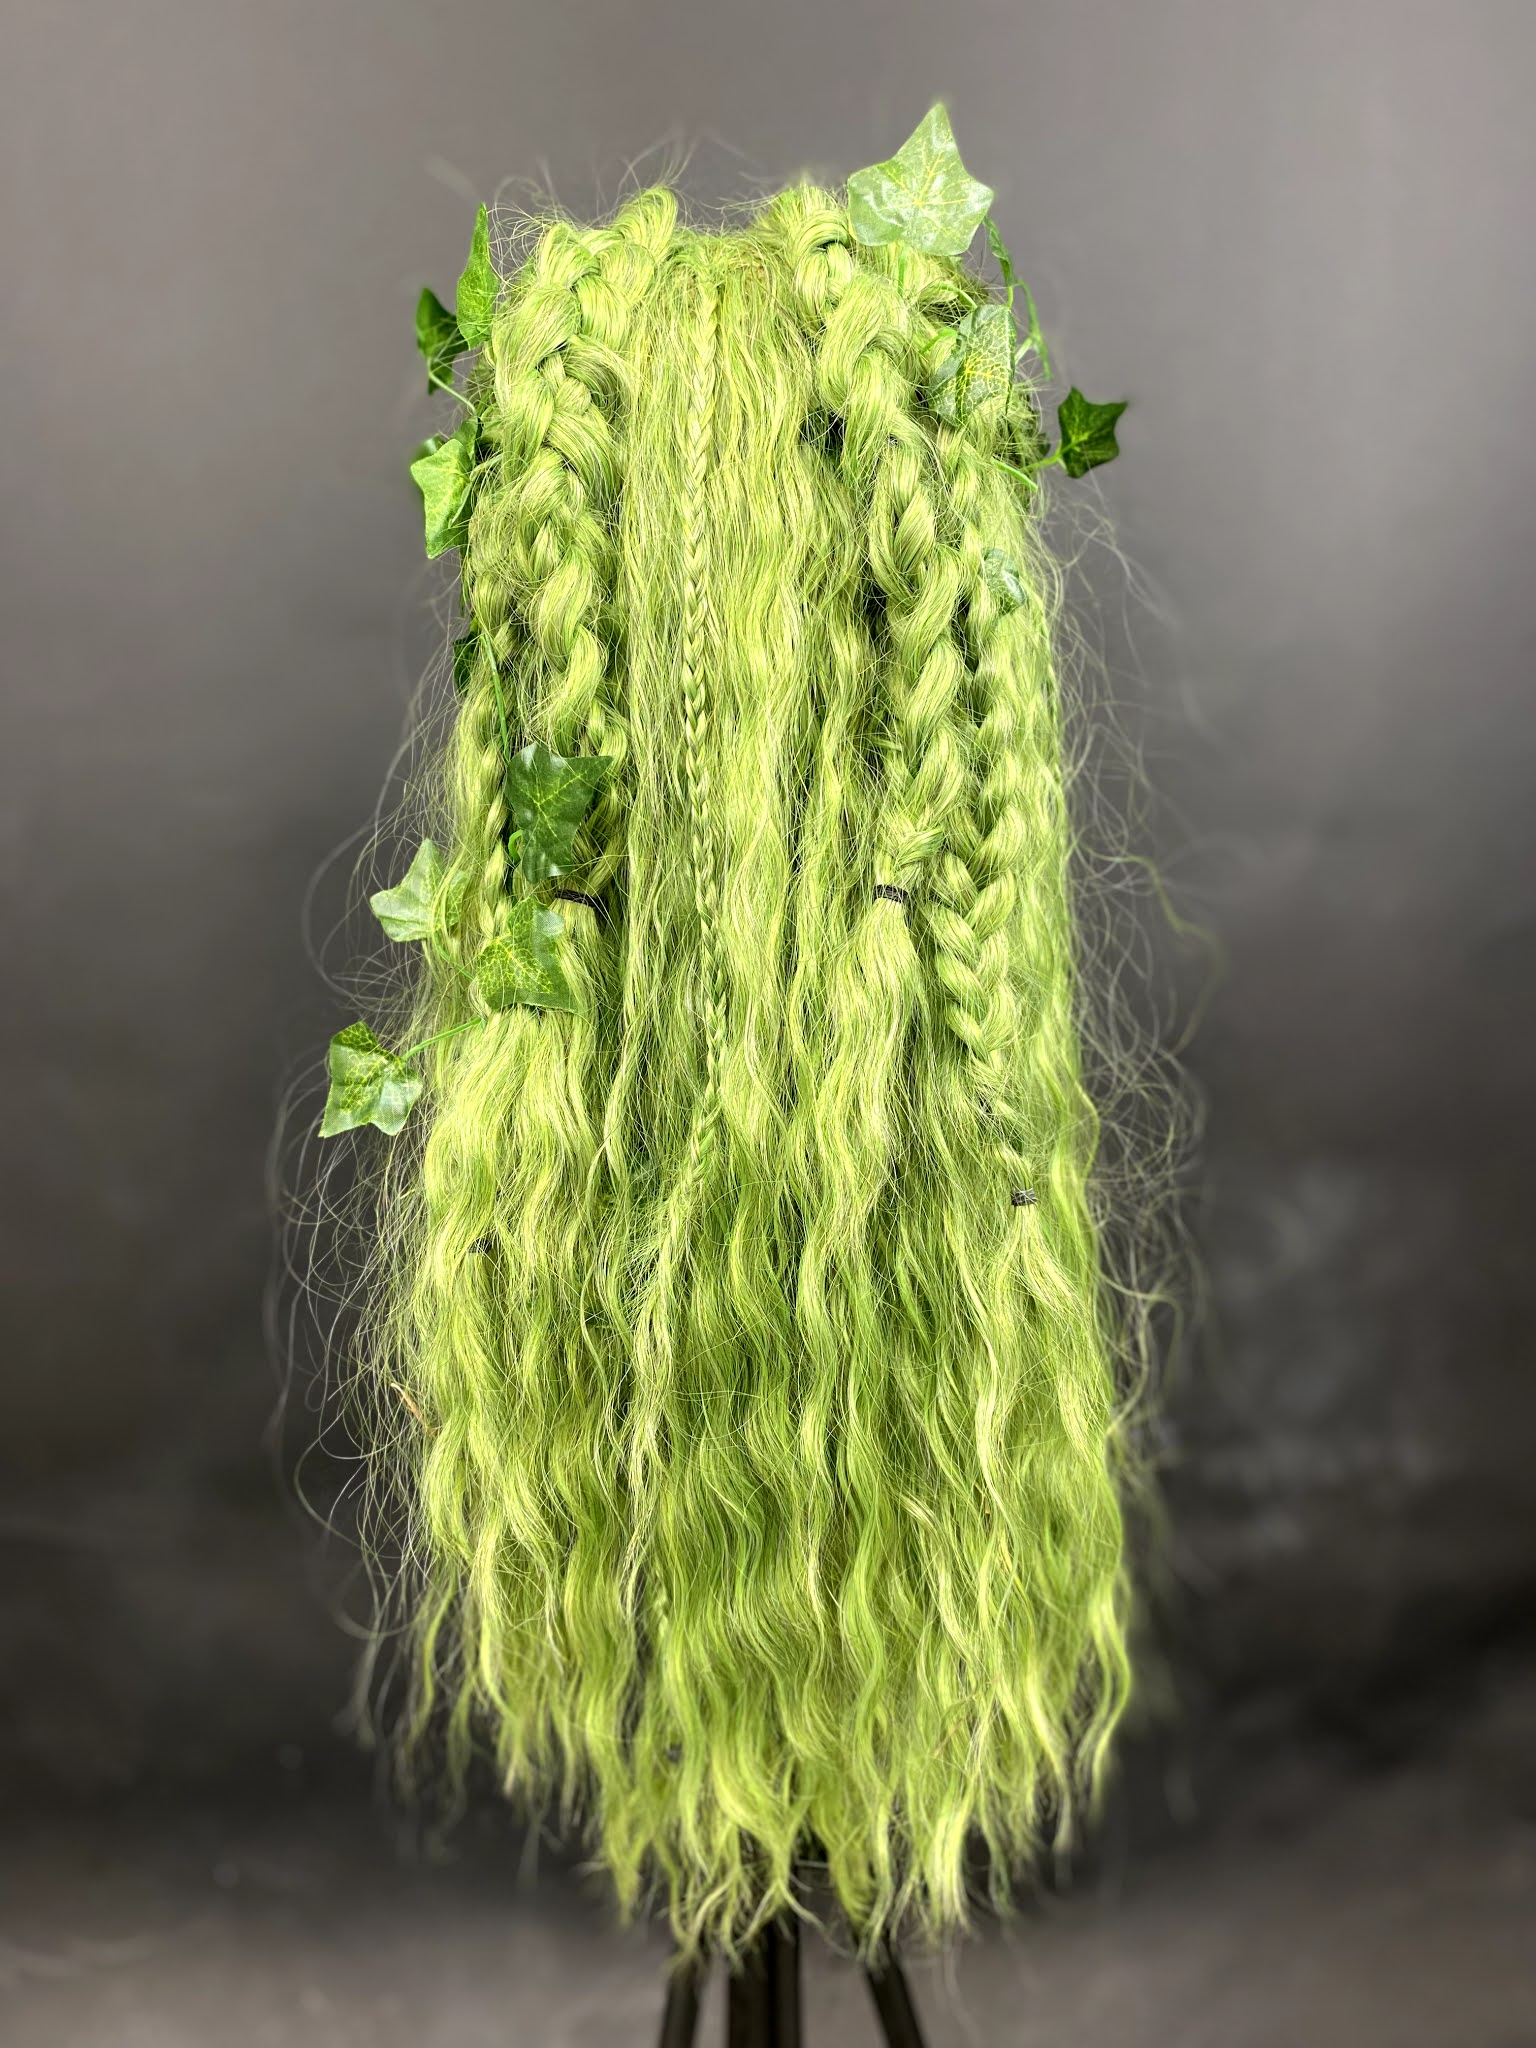 |
| Figure 20 - Final wig design (Brown, J. 2021) |
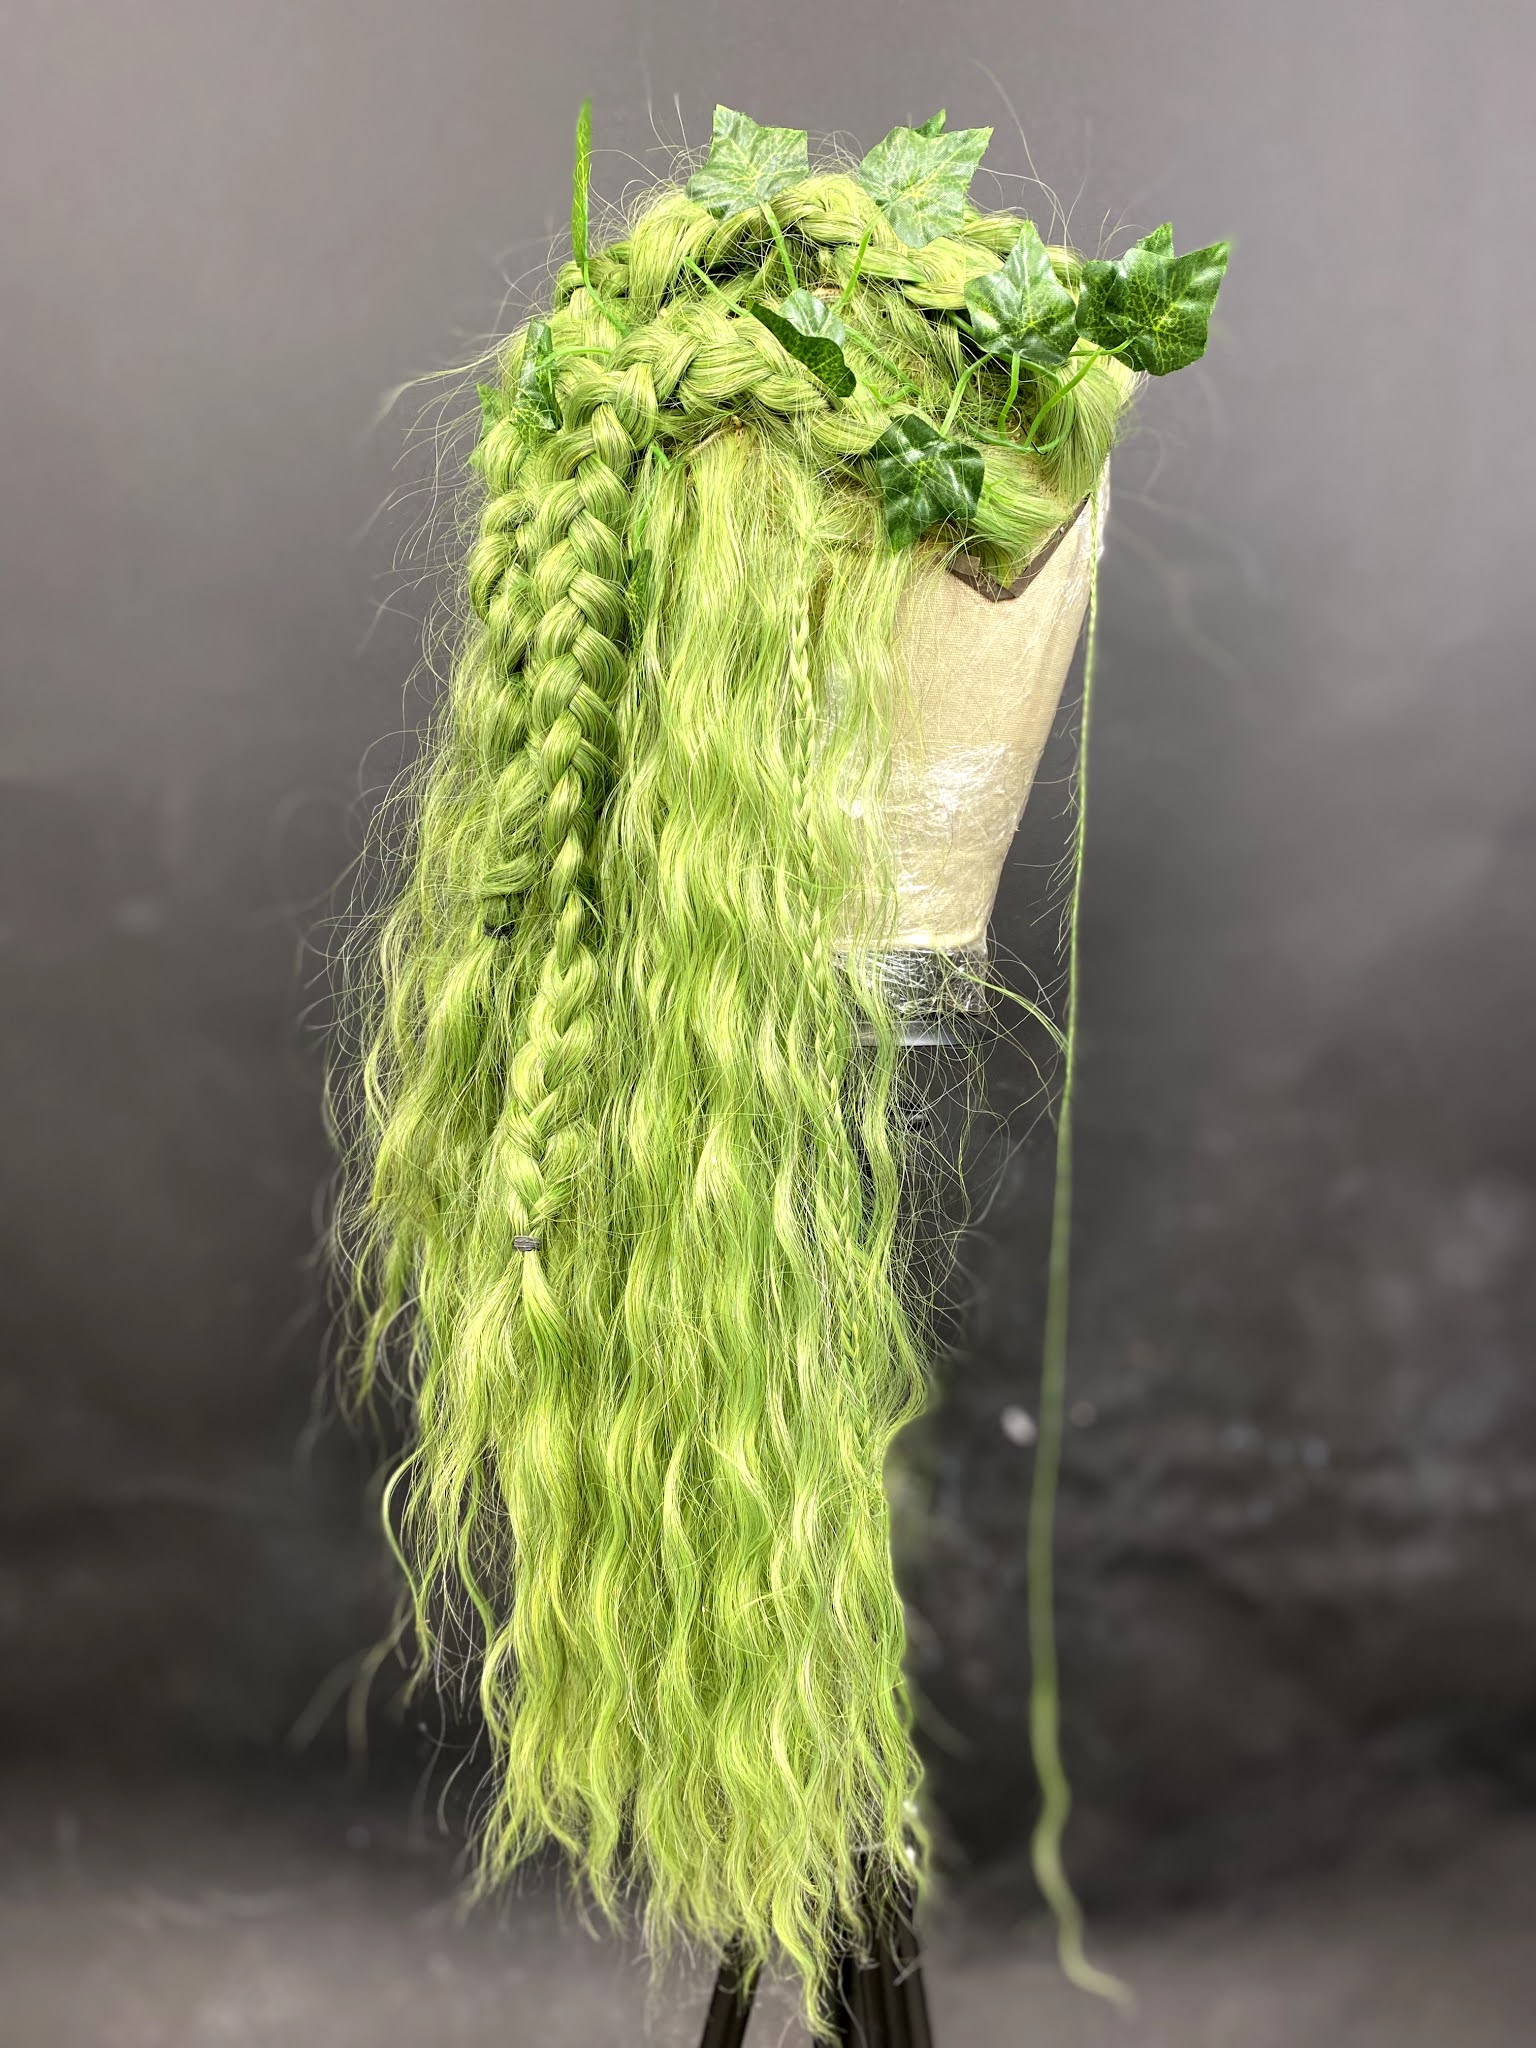 |
| Figure 21 - Final wig design (Brown, J. 2021) |
Overall, the student is happy with how the final image turned out. It wasn't exactly what they had pictured, but it still came out well. They are very pleased with the progress they made with learning how to create prosthetics and working towards a brief. The blending of the eye prosthetics were almost seamless, and they were very proud of that. Some things could definitely be improved upon, such as more planning and trials, and really getting that defined result. This will be kept in mind for the future.
-Jess
References:
- Hazard Communication Information Sheet reflecting the US OSHA Implementation of the Globally Harmonized System (GHS) of Classification and Labelling of Chemicals. (2018) Available from https://www.schc.org/assets/docs/ghs_info_sheets/Eye%20Damage%20Irritation%20Final%202018-03.pdf [Accessed 12/06/2021].
- ProClean (DG). (no date) Available from https://tiltmakeup.com/products/proclean [Accessed 12/06/2021].
- Pros-Aide - The Original. (no date) Available from https://us.kryolan.com/product/pros-aide-original#15ml-default [Accessed 12/06/2021].
- Safety Data Sheet, Acetone. (2015) Available from https://www.nhsggc.org.uk/media/236208/msds-acetone.pdf [Accessed 12/06/2021].
- Spirit Gum. (no date) Available from https://uk.kryolan.com/product/spirit-gum#12ml-default [Accessed 12/06/2021].
Bibliography:
- Ben Nye Prosthetic Adhesive. (no date) Available from https://www.redcarpetfx.com/collections/ben-nye/products/ben-nye-prosthetic-adhesive?variant=9300441413 [Accessed 12/06/2021].
- Bond Off. (no date) Available from https://www.treasurehouseofmakeup.co.uk/bond-off.html [Accessed 12/06/2021].
- GHS Hazard Class and Hazard Category. (2016) Available from https://www.chemsafetypro.com/Topics/GHS/GHS_hazard_class.html [Accessed 12/06/2021].
Figures:
- Figure 1 - Ben Nye Prosthetic Adhesive. (no date) Available from https://www.redcarpetfx.com/collections/ben-nye/products/ben-nye-prosthetic-adhesive?variant=9300441413 [Accessed 12/06/2021].
- Figure 2 - Bond Off. (no date) Available from https://www.treasurehouseofmakeup.co.uk/bond-off.html [Accessed 12/06/2021].
- Figure 3 - Kryolan Mastix Spirit Gum Matte. (no date) Available from https://www.redcarpetfx.com/products/kryolan-mastix-spirit-gum-matte?variant=12578010529865 [Accessed 12/06/2021].
- Figure 4, 5, 6 - Brown, J. (2021) York College.
- Figure 7, 8, 9, 10 - Brown, J. (2021) Leeds.
- Figure 11, 12, 13, 14 - Brown, J. (2021) York College.
- Figure 15 - Evie- Wicked Green. (no date) Available from https://webster-wigs.myshopify.com/collections/ultimate-lacefront-wigs-1/products/evie-wicked-green [Accessed 12/06/2021].
- Figure 16, 17 - Zorinblitzz. (2021) Available from https://www.instagram.com/p/COtHm6zBYEE/ [Accessed 12/06/2021].
- Figure 18, 19, 20, 21 - Brown, J. (2021) York College.
Comments
Post a Comment