Mouth piece:
The first piece attempted was the mouth. Alcohol based cap-plastic was applied to both parts of the mould in three layers. Platsil gel 25 was used, and as the clay for the sculpt weighed 20g, this was the starting point for how much silicone to use. Part A and B were 5g each, and 10g of LV deadener was used. This wasn't enough to fill the whole piece, however it did pick up the detail which is a good sign.
 |
| Figure 1 - Mouth piece (Brown, J. 2021) |
 |
Figure 2 - Mouth piece (Brown, J. 2021)
|
The second attempt for the mouth piece went better, however it was still not great. This time 32g was made, 8g of A and B, 16g of deadener. With three layers of alcohol cap-plastic. The full piece had picked up, however, the cap-plastic grabbed onto the excess silicone but not to the actual piece. In an effort to salvage it, three coats of cap-plastic were brushed onto the back before it was removed from the mould. This did work, however there was no cutting edge around the prosthetic, meaning it couldn't be used for application as there was no way to blend it into the skin.
 |
Figure 3 - Mouth piece (Brown, J. 2021)
|
 |
Figure 4 - Mouth piece (Brown, J. 2021)
|
This piece was ran and attempted many different times. The cap-plastic had been changed to the acetone based one, as alcohol paints would be used for detailing. This was also applied to the moulds using an airbrush, with 5 - 6 layers at a 1:8 ratio. Some of these pieces came out really quite well, others not so much. At this stage, the desired strength of the colour was still being determined, as well as still learning how to properly pre-colour with silicone pigments.
 |
Figure 5 - Mouth piece (Brown, J. 2021)
|
 |
Figure 6 - Mouth piece (Brown, J. 2021)
|
 |
Figure 7 - Mouth piece (Brown, J. 2021)
|
 |
Figure 8 - Mouth piece (Brown, J. 2021)
|
This piece (figures 7 and 8) turned out exceedingly well. Had this have been achieved once the ideal colour had been created, this would have been a lovely final piece looking back at it. However, the student felt that it wasn't good enough at the time as there were very small amounts of silicone in the cutting edge. Reflecting on this, that small amount could have been hidden very easily. Unfortunately, a piece at this standard couldn't be recreated.
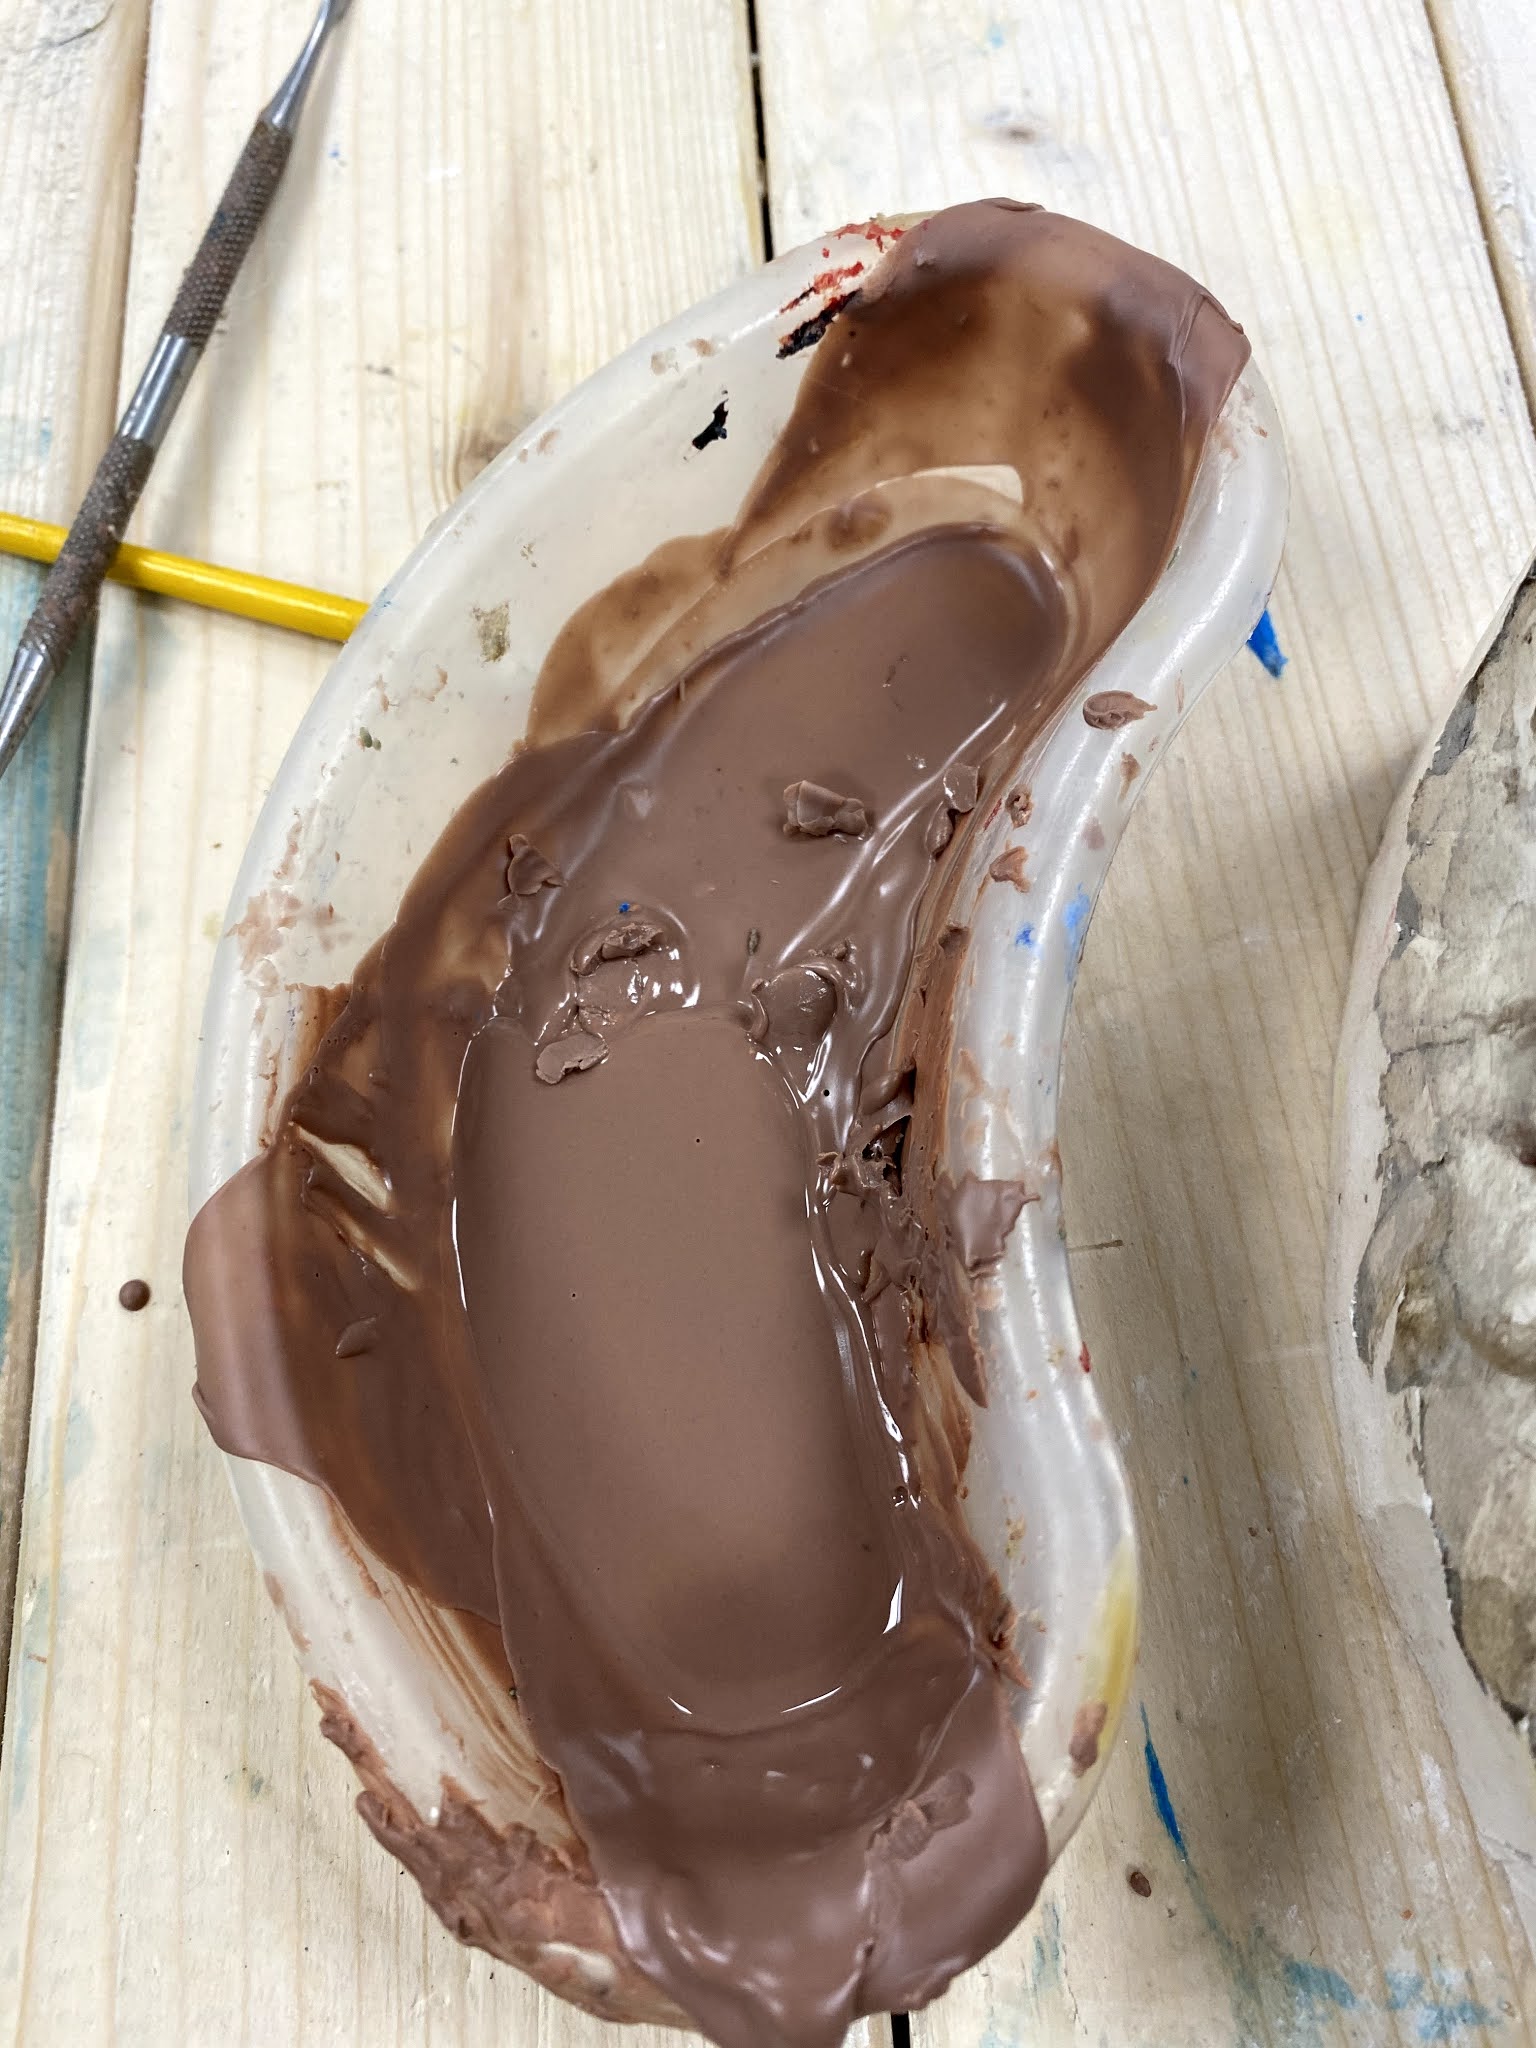
The more practice with running the silicone, the more the student understood just how powerful the pigments are. They had been mixing the colour prior and then adding in small amounts using a fine hair grip. This had still been producing too strong of a colour. They had decided to try create a translucent colour, to help with the makeup later on. This was achieved by using the smallest possible dot of pigment on the end of a toothpick. This gave that nice subtle colour.
 |
Figure 9 - Pre-colouring silicone (Brown, J. 2021)
|
A few attempts were tried with this colouring, not all the pieces being picked up with the silicone, but an end piece had finally been created.
 |
Figure 10 - Mouth piece (Brown, J. 2021)
|
 |
Figure 11 - Mouth piece (Brown, J. 2021)
|
 |
Figure 12 - Mouth piece (Brown, J. 2021)
|
 |
Figure 13 - Final mouth piece (Brown, J. 2021)
|
Eye pieces:
The two pieces for the eyes were attempted next. The clay for these weighed 5g each, however this would have been too small an amount to weigh out as the scales only seemed to register at 3g. Therefore 12g was made for each. 3g of A and B, and 6g of deadener. Each side of the mould also had 3 layers of alcohol based cap-plastic.
 |
Figure 17 - Eye pieces (Brown, J. 2021)
|
 |
Figure 18 - Eye pieces (Brown, J. 2021)
|
These were the first pieces to come out in tact. It appears the eyes weren't squashing well enough as silicone seemed to have pooled where it shouldn't have in the middle and around where the cutting edge is. This can be seen as the cap-plastic has a yellow/orange colour to it, meaning the silicone is in there.
The cap-plastic was changed to the acetone based one, as alcohol paints would be used to add detail to the pieces, and this can dissolve the alcohol cap-plastic. For the eye pieces, four layers were applied to each piece of the moulds and a very small amount of silicone was mixed. Oral syringes were used to measure 1g of A and B and 2g of deadener. The aim was to use a very small amount, just enough to cover the piece to try avoid it pooling in the wrong areas. This did not work, the cap-plastic didn't seem to be thick enough and even though the silicone had been applied in the correct areas, it had still spilled out and travelled around. Acetone cap-plastic is a lot thinner than the alcohol one, so that could be the issue here.
 |
Figure 19 - Eye pieces (Brown, J. 2021)
|
Due to the angles within these moulds, it was proving to be quite difficult to ensure the entire piece was picked up by the silicone. The cap plastic also was not turning out very well. Therefore, the cap plastic would now be applied using an airbrush, applying 5 to 6 layers at a 1:8 ratio, and the eye moulds would be propped up so that the piece lays flat.
 |
Figure 20 - Eye pieces (Brown, J. 2021)
|
In figure 20, this new method was attempted, with a pair of tights wrapped around the mould to try ensure a tight squash, as the student did not have clamps available away from the college. This did appear to work, as the full piece had come out. However, silicone was still being trapped inside the cutting edge, making the piece unusable.
 |
Figure 21 - Eye pieces (Brown, J. 2021)
|
This was tried once more, however it still did not work. Small areas of the cutting edge was blended away to test it, and the solid edge with the tinted colour to it indicates the presence of silicone.
 |
Figure 26 - Eye pieces (Brown, J. 2021)
|
This method worked, but it took a very long time, as it took the silicone around 13 to 17 minutes to have set enough so that it wouldn't move, allowing the mould to be moved so a layer could be applied in a different area. These sculpts were made into flat moulds instead.
The original sculpts were made with chavant clay. Another popular clay to use is monster clay. This clay can be heated up in the microwave and melted, making it really easy to pour over objects or into moulds to pick up texture or detail. This was used to try replicate the original sculpts. The clay was poured into the moulds, smoothed out, so the clay was only in the piece, then pulled out. This didn't come out perfectly, and the clay did require some more sculpting, however these pieces are fairly simple so it was a quick fix. Using the mould also helped to get the correct size and shape.
 |
Figure 27 - Melted monster clay (Brown, J. 2021)
|
 |
Figure 28 - Eye pieces (Brown, J. 2021)
|
The new sculpts were then moulded in silicone and turned into flat moulds.
 |
Figure 29 - New sculpts (Brown, J. 2021)
|
 |
Figure 30 - Moulding new sculpts (Brown, J. 2021)
|
 |
| Figure 31 - New eye flat mould (Brown, J. 2021) |
-Jess
Figures:
- Figure 1, 2, 3, 4 - Brown, J. (2021) York College.
- Figure 5, 6, 7, 8 - Brown, J. (2021) Leeds.
- Figure 9 - Brown, J. (2021) York College.
- Figure 10, 11, 12 -Brown, J. (2021) Leeds.
- Figure 13, 14, 15, 16, 17, 18 - Brown, J. (2021) York College.
- Figure 19, 20, 21, 22, 23, 24, 25, 26 - Brown, J. (2021) Leeds.
- Figure 27, 28, 29, 30, 31 - Brown, J. (2021) York College.


Comments
Post a Comment